
What is a Certificate & its use
A Flavor Certificate is an authority that confirms that you successfully completed a course on Flavor. A certificate helps a person to feature his skill and commitment to the profession, and fabricate ability in his expert branch of knowledge.
Step 1
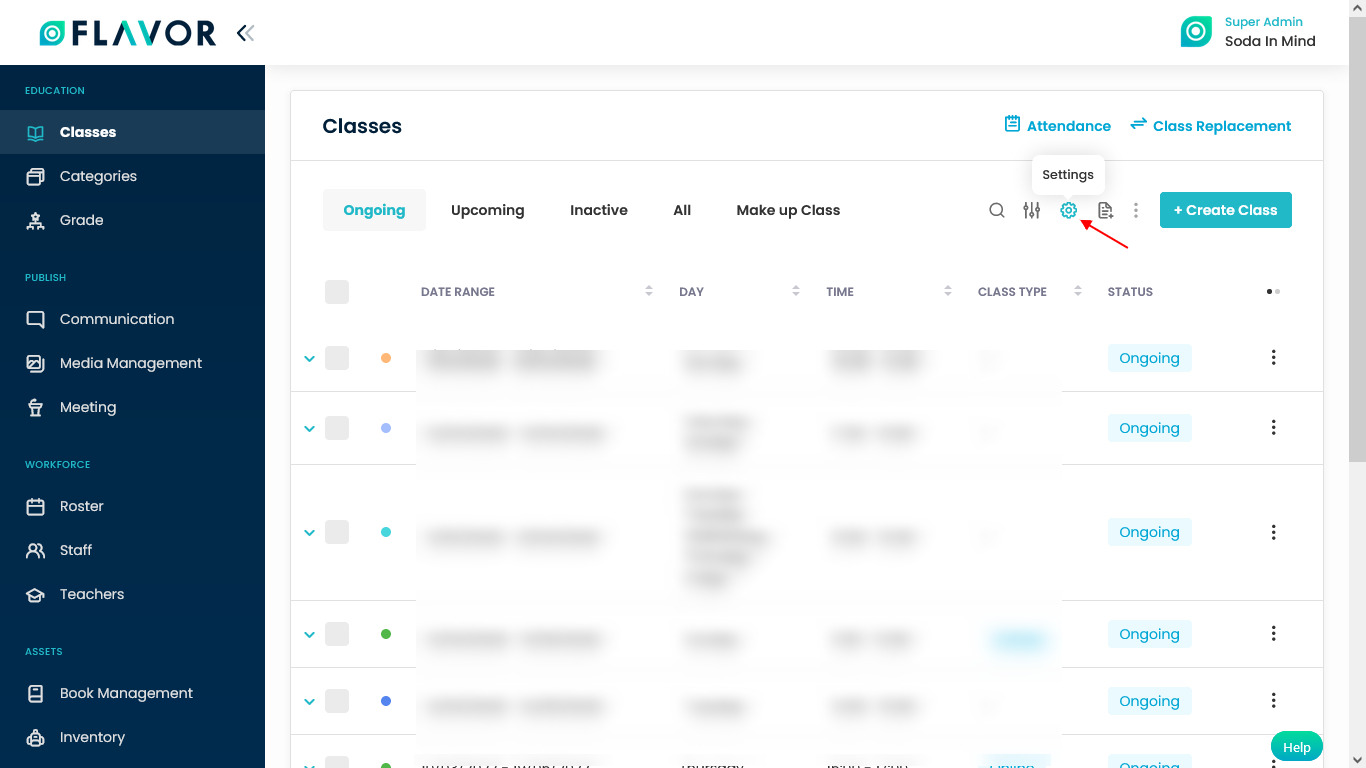
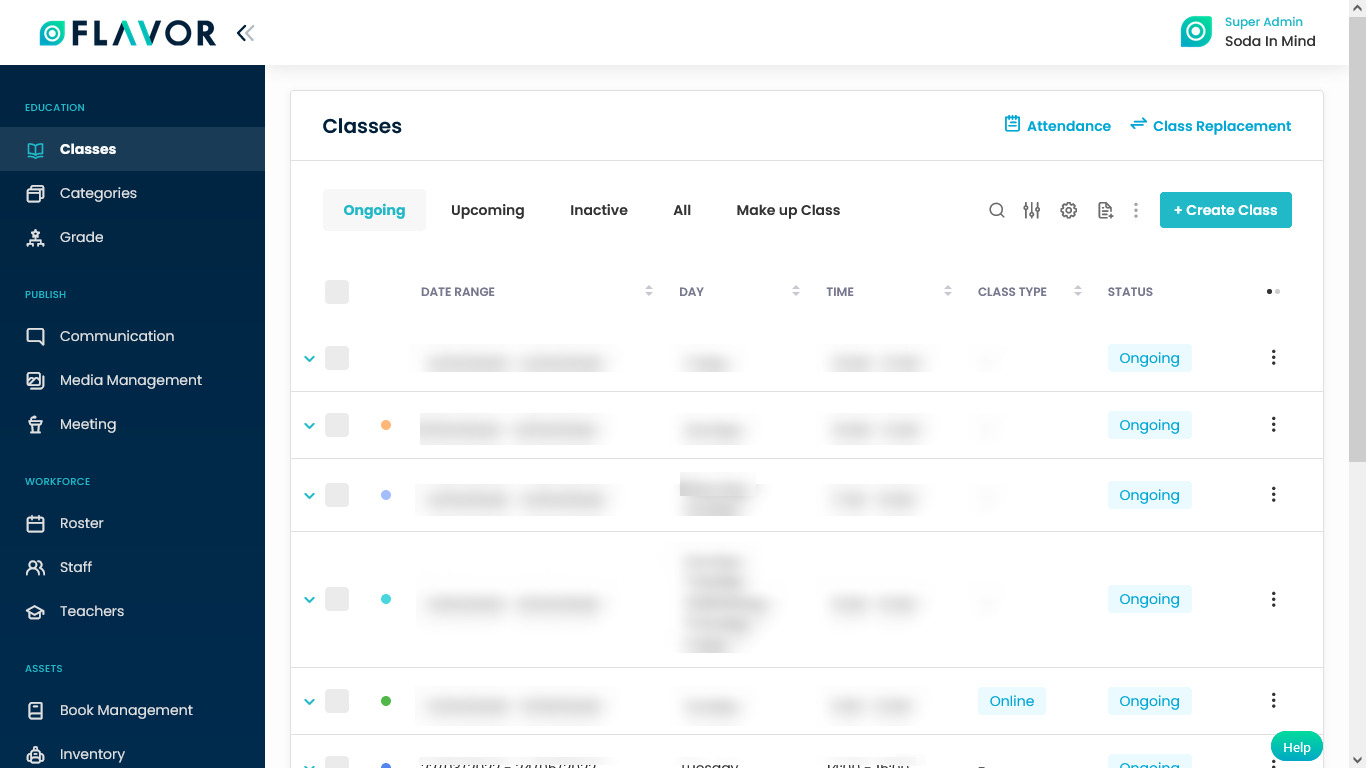
- Go to the Classes module from the left menu.
- Click on the Settings icon.
Step 2
- You will be redirected to the Class Settings page.
- In Class Settings, you can see various sections. You have to go to Attendance.
- Here, you can see, Generate Certificate option.
- This option is off by default, make it on by switching.
Step 3
Select the type of template from the dropdown. There are two types of certificate:
- Option 1
- Option 2
- Custom Background – Portrait
- Custom Background – Landscape
- Custom Background – Portrait 2
- Custom Template.
Step 3.1 Option 1
- Upload Signature: Here, upload the signature, it should be in PNG format.
- Signature on behalf of: Enter the name of the person whose signature is going to use on the certificate.
- Position: Enter the position of the signatory.
- Description: Enter the details in the text box under the description field.
- Click on the Save button to save the certificate settings.
Step 3.2 Option 2
- Upload Signature: Here, upload the signature, it should be in PNG format.
- Signature on behalf of: Enter the name of the person whose signature is going to use on the certificate.
- Position: Enter the position of the signatory.
- Description: Enter the details in the text box under the description field.
- Click on the Save button to save the certificate settings.
Step 3.3 Custom Background Portrait and Landscape
- Upload Background: Here, upload the Certificate Image, it should be in PNG format.
- Upload Signature: Here, upload the signature, it should be in PNG format.
- Signature on behalf of: Enter the name of the person whose signature is going to use on the certificate.
- Position: Enter the position of the signatory.
- Description: Enter the details in the text box under the description field.
- Click on the Save button to save the certificate settings.
Step 3.4 Custom Background
- Upload Background: Here, upload the Certificate Image, it should be in PNG format.
- Signature on behalf of: Enter the name of the person whose signature is going to use on the certificate.
- Position: Enter the position of the signatory.
- Description: Enter the details in the text box under the description field.
- Click on the Save button to save the certificate settings.
Upload a Background
- Drag & drop or click to upload a background image.
- Recommended resolution: 1056 × 816 pixels (PNG/JPG).
- Important: Only after uploading a background will you be able to use the Preview Certificate and Edit Template options.
Select & Manage Templates
Once your background is uploaded, you’ll see these options:
-
🖼 Preview Certificate – See how the certificate looks with your background.
-
✏️ Edit Template – Customize text placement, fonts, and variables.
-
🔔 Edit Notification – Adjust the email/notification message that accompanies the certificate.
Customize Certificate Template
In the template editor, you can:
- Insert dynamic fields (variables): Name, Start Date, End Date, Course Name, Course Code, Trainer Name.
- If you want to remove variable from certificate click on delete variables.
- Adjust Font Family, Size, and Color .
- Centralised Word- Align text (e.g., student name, award description, trainer signature).
✨ Tip: Use Preview after edits to ensure spacing and alignment look professional.
Save Your Template
Save Your Template
-
Click Save to keep your customized design.
-
Use Discard if you want to cancel edits.
Step 4
- Go back to the Classes.
- Click on any class record.
- Class details will be open.
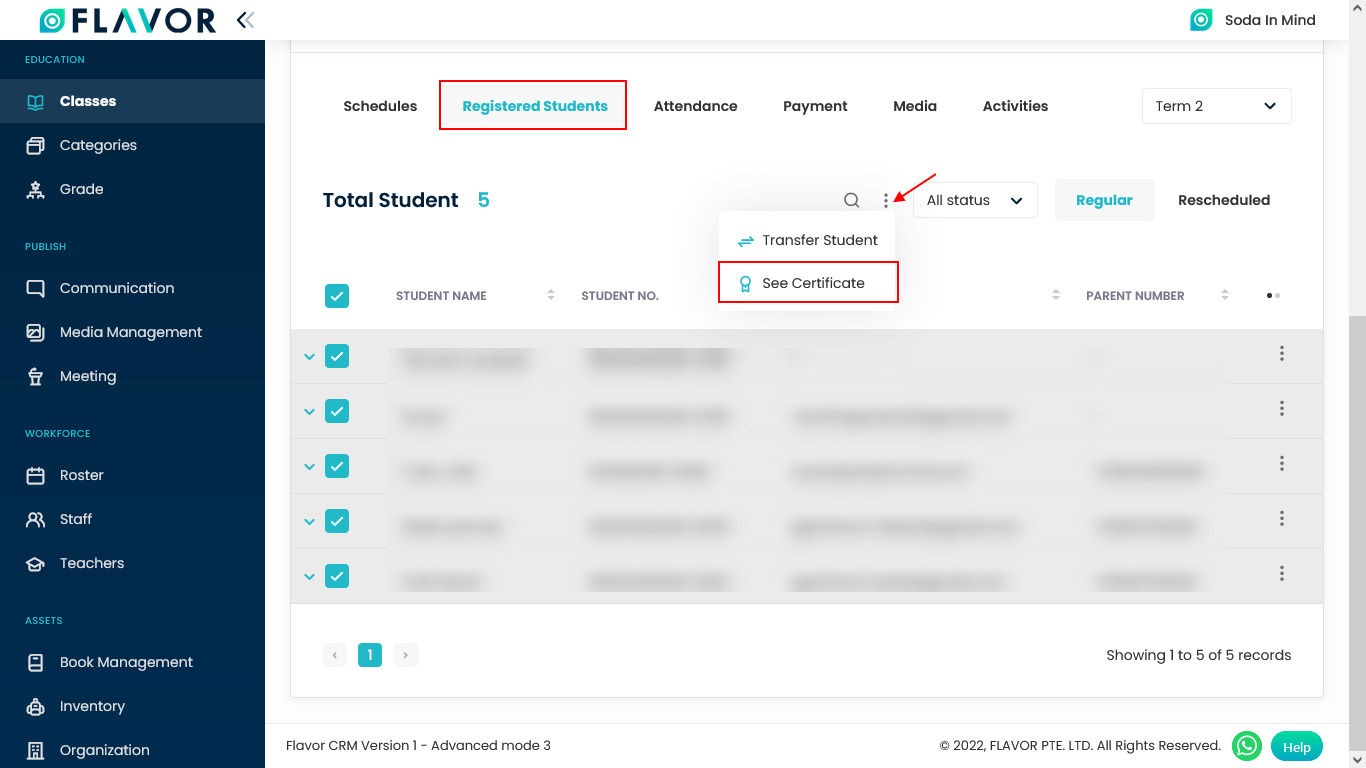
Step 5.1 Send Certificate to a Single Student
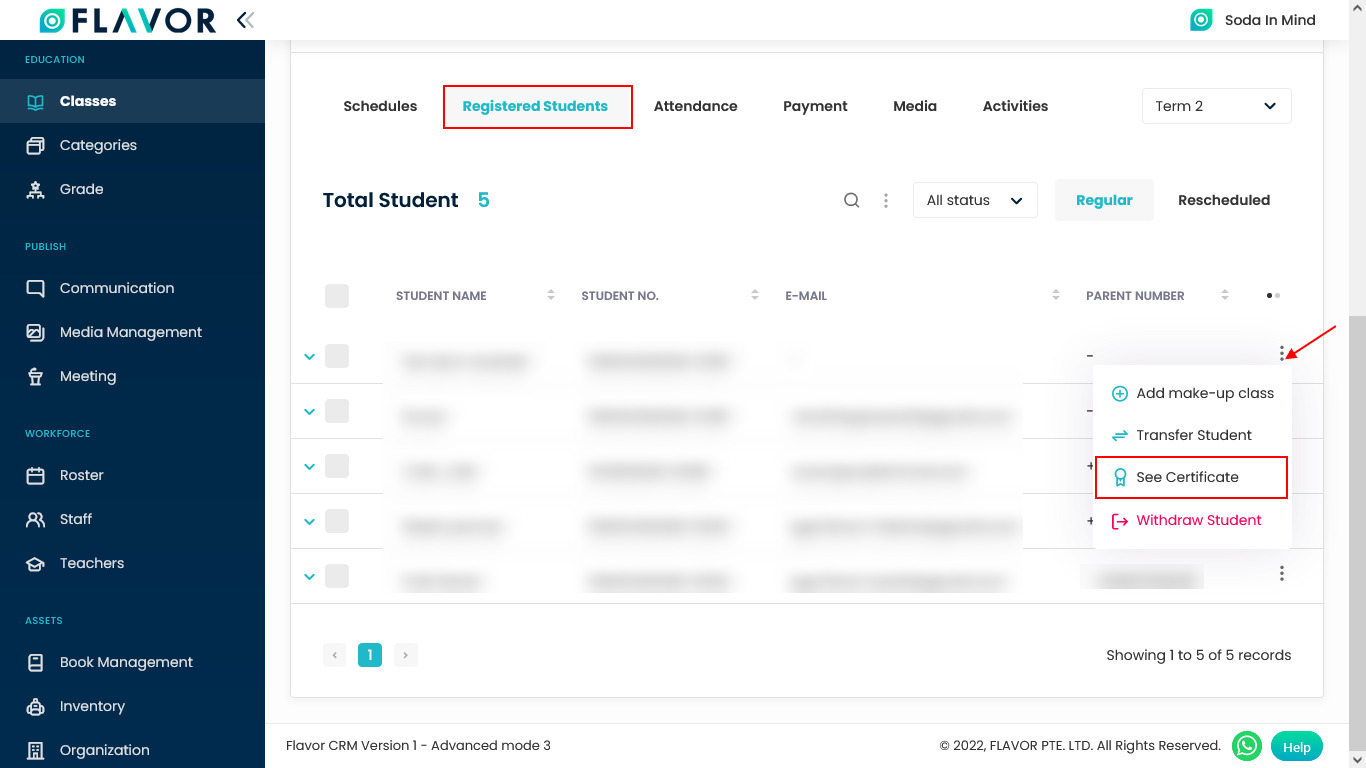
- Navigate to the Registered Students tab.
- Then click on the Action Button (3 vertical dots) of a student record.
- A popup with various options will be open.
- Click on the See Certificate option.
Step 5.2
- A confirmation popup, to generate a certificate will open.
- Click on the Yes button.
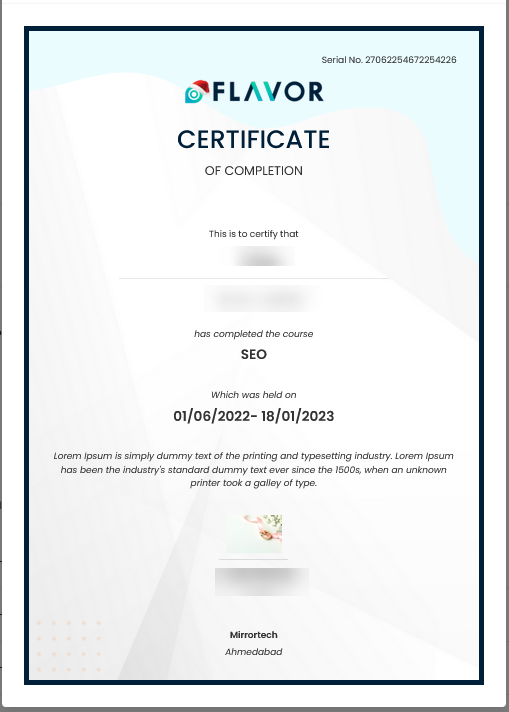
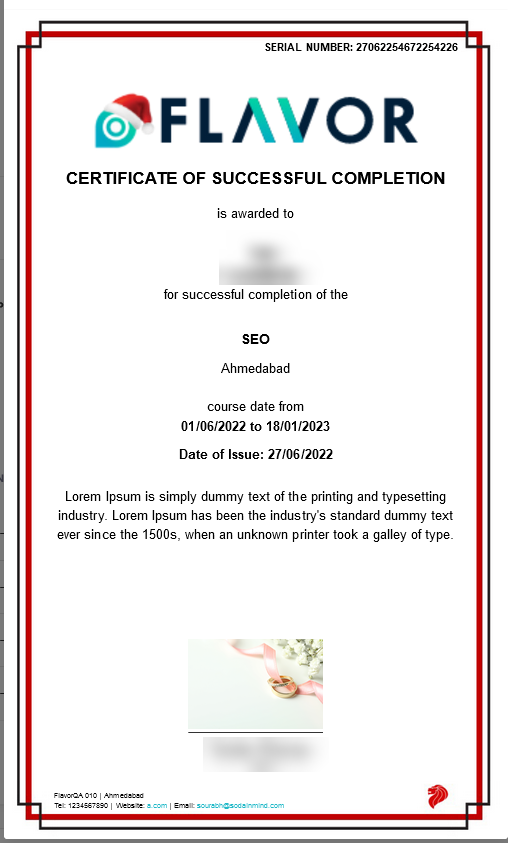
- A Certificate modal will appear on your screen.
- To download the certificate click on the Download icon.
- Send a certificate to a student click on the Send to Students button.
- After sending a notification, the Student certificate has been send successfully will be seen on your screen.
- Certificate will be sent to student’s parent email id or students’ email id.
- Note: This is a Default Template Certificate.
Step 6.1 Send Certificate to all students
- Navigate to the Registered Students tab.
- Select multiple students and then click on the Bulk Action button.
- A popup with various options will be open.
- Click on the See Certificate option.
Step 6.2
- A Certificate modal will appear on your screen.
- You can check all certificates by clicking on the navigation arrows.
- To download certificates click on the Download icon.
- Send certificate to all students click on the Send to Students button.
- Certificates will be sent to their parent’s email id or students’ email id.
- After sending certificates a notification that, Student certificate has been send successfully will appear on your screen.
- Note: This is a New Template Certificate.
Need more help? Ask us a question
Please let us know more of your details and our team will reach out to you very shortly.