
Step 1 : Create a Class
- Access the Classes from the Dashboard : On the left side of your screen, you’ll see a vertical menu bar. This is the primary navigation panel used to access different modules. Click on Classes.
- Select Create Class : On the top right corner of the Classes overview page, you will find a button labelled Create Class. Click on Create Class to open the class creation page.

Step 2 : Fill in Class Details
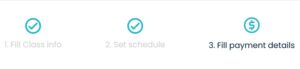
When creating a class, you will be guided through three sections :
- Fill Class Info : Add the basic class details such as subsidiary, branch course name and class name.
- Set Schedule : Select Teacher and define the schedule type, duration, start date and end date.
- Fill Payment Details : Configure the class fees, payment structure, and discounts.
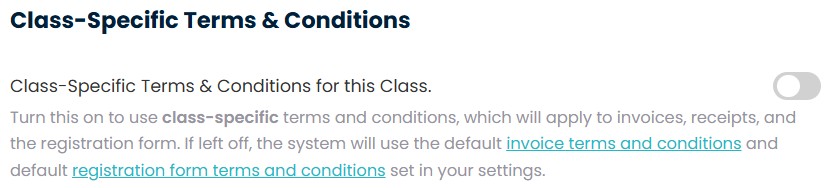
Class-Specific Terms & Conditions :
Within the Fill Payment Details section, you will find an option to enable Class-Specific Terms & Conditions. To activate this feature simply turn the toggle switch On. These terms and conditions will be applied to invoices, receipts, and the registration form.
Step 3 : Add Class-Specific Terms & Conditions
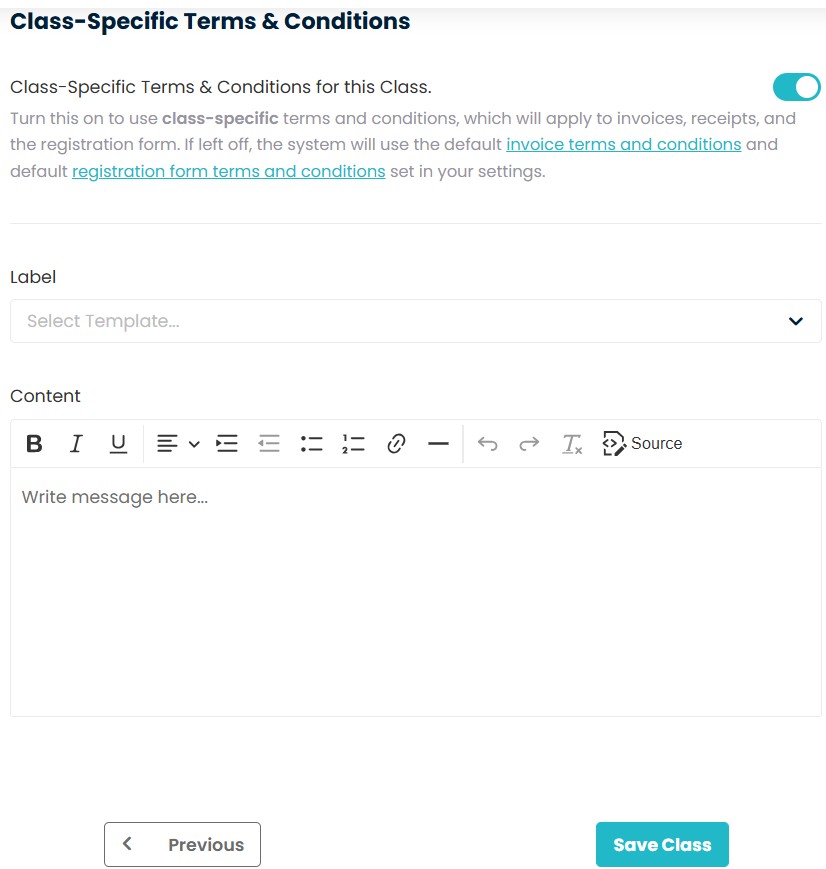
Once enabled, it will display a section where you can define the Class-Specific Terms and Conditions. This allows you to customize the information according to the requirements of each class individually.
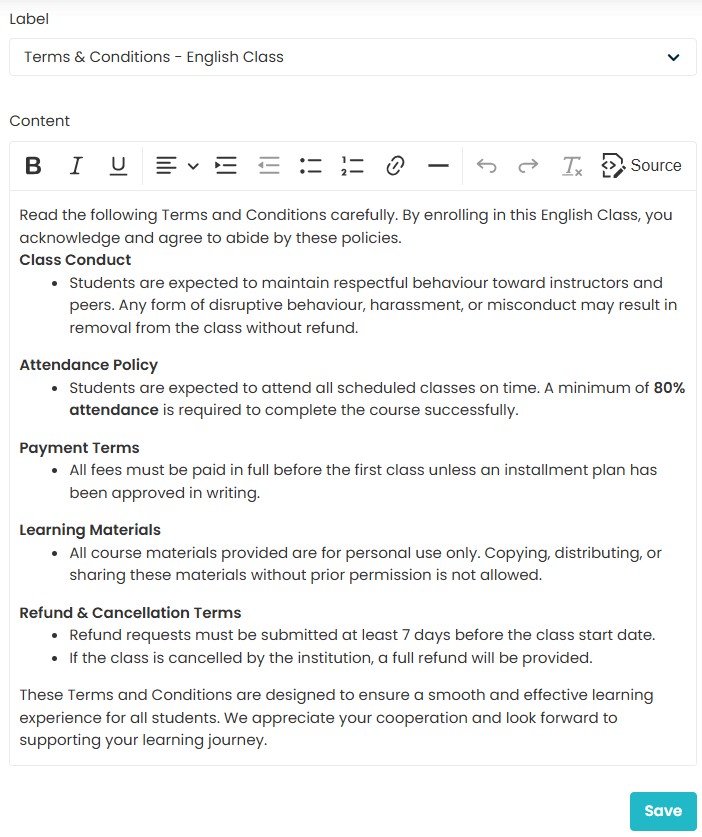
- Label : The Label acts as the title or heading of your Terms & Conditions. It helps categorize or organize multiple sets of terms, making them easy to identify.
- Content : The Content field is where you enter the detailed description of the Terms & Conditions under the chosen label. This is the actual text that students/guardians will read and agree to when enrolling in the class.
Where to view the Class Specific Terms & Conditions?
Once you click on Save Class, the new class will be successfully created. A confirmation message will appear to indicate that the class has been saved, and it will now be visible in your Classes list.
- To access the Terms & Conditions for the newly created class, navigate to the Classes section and open the specific class you just created. Within the class profile, you will find several options, one of which is Terms & Conditions. Click on this option to view the Class-Specific Terms & Conditions you have set.
When you click on Terms & Conditions, the system will display the Label and Content you previously configured. These represent the Class-Specific Terms & Conditions, which are tailored to the particular class you created. This section allows you to review and ensure the terms accurately reflect the policies or agreements relevant to that class.
FAQs
Q1. Is it necessary to add Terms & Conditions for every class?
No. Adding Class-Specific Terms & Conditions is optional.However, if a particular class requires unique terms, such as specific payment policies, cancellation rules, or participation guidelines, you have the flexibility to configure and apply custom Terms & Conditions for that class.
Q2. Where can students/guardians see these Terms & Conditions?
The Class-Specific Terms & Conditions are displayed during the enrollment process and can also be viewed later in the class profile. This ensures that students and guardians are fully aware of the class policies before joining.
Q3. How to edit the Terms & Conditions after the class has been created?
Yes, you can update the Class-Specific Terms & Conditions at any time directly from the class profile. To do this, navigate to the Classes section, select the relevant class, locate the Terms & Conditions option within the class profile settings, make the changes, and Save.
Need more help? Ask us a question
Please let us know more of your details and our team will reach out to you very shortly.